


Related news
Why Drywall Screws May Fail in Certain Building Materials
Drywall screws can fail when their thread, point, length or finish does not match the supporting material. The screw normally secures gypsum board to framing; the gypsum core is not the intended anchoring base. Qinjia offers drywall screws, but buyers still need to identify the timber or steel support, board build-up and exposure before selecting a variant. Brick and concrete require a different fixing arrangement.
Drywall Screws Depend on the Base Material
Start with the connection, not the wall’s visible surface. Identify the board layers, the supporting frame and any gap between them. A screw that appears long enough may still miss the stud or leave too little thread engaged in the support.
Gypsum Board Needs Suitable Support
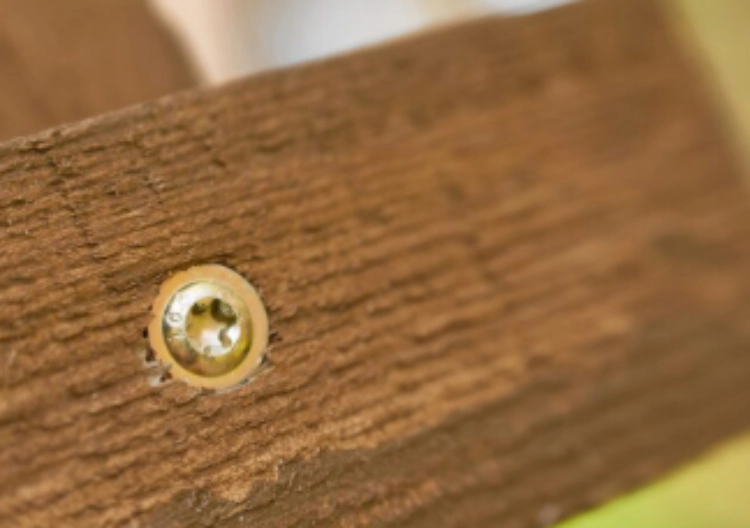
A drywall screw head should seat as required by the board system without breaking the paper face. Driving too deeply damages the material supporting the head and can reduce resistance to pull-through. Driving too shallowly leaves the head proud and can interfere with finishing.
Do not use ordinary drywall screws driven only into the board as anchors for cabinets or other fixtures. Those loads need attachment to suitable framing or a rated hollow-wall fixing selected for the wall and load.
Selection Matrix for Timber, Steel, Brick and Concrete
The matrix distinguishes board-to-framing screws from fixings used to attach framing to masonry. Verify the selected screw or anchor against the wall-system specification, including any fire or acoustic requirements.
|
Connection |
Usual selection direction |
Critical check |
|
Board to timber studs |
Coarse-thread drywall screw |
Specified penetration into sound timber |
|
Board to thin steel studs |
Fine thread; point rated for steel thickness |
Steel range, full penetration and head seating |
|
Board system on brick |
Approved masonry fixing for support; board screw to framing |
Solid or hollow unit; anchor approval |
|
Board system on concrete |
Approved concrete fixing for support; board screw to framing |
Base condition, anchor embedment and edge distance |
Why Base Material Changes Holding Performance
Timber holds a screw through thread engagement in the wood. Thin steel holds it through engagement with the metal around the hole. A thread or point intended for one base may strip, fail to penetrate or provide inadequate engagement in the other.
Brick and concrete do not become suitable anchoring bases simply because a drywall screw is hardened. A predrilled hole with an unapproved plug-and-screw combination is also not a verified fixing system. Use a compatible, rated masonry fixing for the required connection.
Common Reasons Drywall Screws Fail
Separate three failure modes during inspection: the driver damages the recess, the thread loses its grip in the support, or the head breaks through the board face. They require different corrections. Increasing driver force is not a general solution.
Stripped Heads and Poor Driver Engagement
If the bit slips before the head seats, inspect the recess and bit before increasing pressure. A worn or mismatched bit can damage the head while the screw is still being driven. The distinction between Pozidriv and Phillips drive recesses matters here: choose the bit that matches the actual screw head. Stop when the recess is damaged rather than repeatedly driving a bit that no longer engages.
Thread Pull-Out and Insufficient Embedment
Calculate screw length from the full board build-up and the penetration required by the selected wall system. Account for multiple board layers and any permitted intervening materials. The required timber embedment and the required steel penetration are different criteria.
For steel, check both the permitted metal-thickness range and how far the tip must pass through the framing. For timber, check the specified penetration into sound wood. Do not adopt one universal depth across different board systems, screw points and support materials.
Corrosion, Moisture and Surface Conditions
Match corrosion protection to the service environment and the wall-system requirements. A black phosphate finish commonly used indoors should not be assumed suitable for persistent dampness or exterior exposure. Color alone does not identify a coating’s performance.
Specify the required coating or corrosion class and its applicable test standard. Ask for supporting results where the project requires them. Salt-spray hours from different methods are not automatically comparable and do not predict an exact service life.
Match the Screw to the Installation Task
Confirm diameter, overall length, thread, point, head, recess and coating as one specification. Keep the substrate thickness and board layers beside those values so a replacement screw can be checked against the same connection.
Choosing the Correct Drywall Screw Type
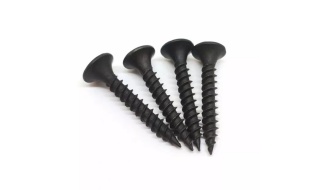
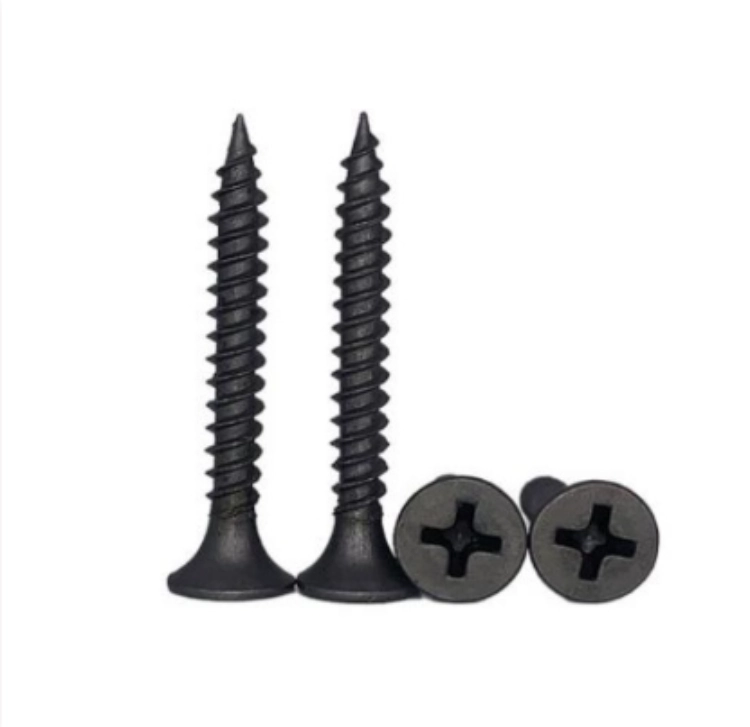
For Qinjia’s Drywall Screw, specify the board, supporting material, fixing thickness, and intended exposure before selecting a variant. The product name alone does not establish suitability for every wall. Confirm the thread, point, length, and finish for the supplied screw, then compare them with the installation requirements. Treat a change from timber support to metal support as a new selection check.
Checking Length, Thread and Point Design
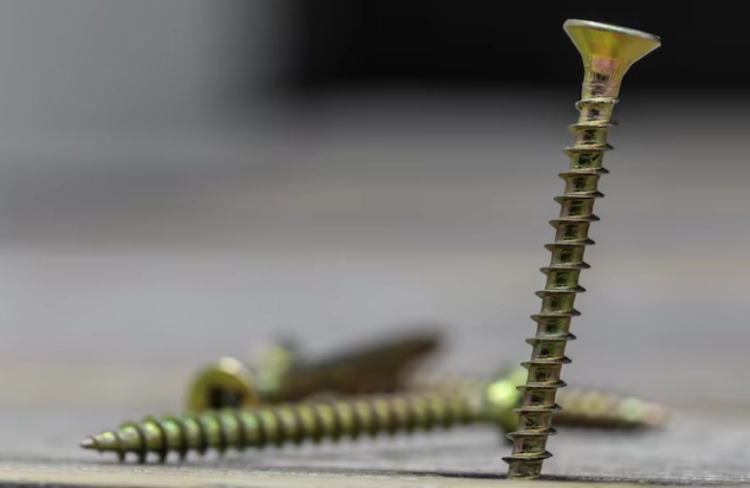
Coarse-thread screws are commonly used for gypsum board to timber framing. Fine-thread screws are commonly selected for steel framing, with the point chosen for the actual steel thickness. Use a sharp or self-drilling point only within the manufacturer’s stated application range.
A bugle head is commonly used to seat in the board face; it should not be replaced with another head profile without checking the system. Confirm the actual drive recess and bit size, often Phillips on drywall screws, rather than assuming Phillips and Pozidriv are interchangeable.
When Another Fastener Is More Suitable
To attach framing to brick or concrete, select the specified masonry screw, plug-and-screw system or anchor, then fasten the board to that framing with its approved drywall screws. Do not drive an ordinary drywall screw directly into masonry as a substitute.
Structural timber connections, heavy fixtures and exterior cladding also need their own suitable fasteners. An ordinary drywall screw’s appearance or hardness does not qualify it for those applications.
Improve Results Through Installation Control
Establish the driver setup on the actual board-and-frame combination. Check seating and thread grip before repetitive work, then recheck when the board thickness, support, screw variant or tool changes.
Driver Speed, Installation Torque and Depth
Use the screw and board-system guidance for driver speed and installation technique. Set the depth control so the head reaches the specified position without tearing the face. For thin steel, stop if the screw spins without clamping; the thread may have stripped the hole.
There is no universal installation torque for all drywall screws. Screw size, framing thickness, coating and board build-up affect the result. Where a torque range is specified, use the required controlled tool and verify it; where depth control is specified, do not replace it with an arbitrary torque setting.
Pilot Holes and Edge Distance
Follow the wall system’s screw spacing and board-edge distances, and make sure each fixing enters the intended framing member. A missed stud or a damaged board edge cannot be corrected by driving the same screw deeper.
Pilot drilling is not a general requirement for every drywall screw. For masonry anchors used to support framing, hole diameter, depth, cleaning and edge distance come from that anchor’s instructions. Keep those requirements separate from board-to-stud installation.
Pull-Out, Pull-Through and Installation Checks
Inspect trial assemblies for seating, paper damage, recess condition, missed supports and stripped threads. If performance testing is required, distinguish screw pull-out from the support and head pull-through through the board. The test must represent the actual materials and installation.
Agree the test method, sample count, support thickness, screw embedment, loading direction and acceptance criteria with the responsible technical party. Record results by screw batch and assembly specification. Do not treat a single informal pull test as proof of a wall system’s load rating.
Conclusion
A reliable drywall connection needs the correct support, thread and point, sufficient specified engagement, an appropriate head and coating, and controlled seating. Use a separate approved fixing system for masonry. Diagnose the failure mode before changing screw length or driver settings.
Contact Qinjia
Send the board type, substrate, fixing thickness, exposure, and driver details through Qinjia’s contact page. Photographs of stripped heads or failed connections can help explain the installation problem alongside the screw specification.
FAQ
Should I Use Coarse or Fine Threads?
Coarse threads are commonly used for timber framing and fine threads for steel, but the selected screw must cover the actual support thickness and board system. Point design matters as well as thread type.
Can Drywall Screws Fix Directly Into Brick or Concrete?
Ordinary drywall screws should not be used as direct masonry anchors. Use the specified masonry fixing to attach framing or another approved support, then use the appropriate drywall screws to secure the board.
What Torque and Penetration Depth Should I Specify?
Use the values or depth-control requirements given for the selected screw and wall assembly. Include board layers, timber or steel support details and the test method. There is no single torque or penetration value that covers every drywall installation.

 Consult
 Whatsapp
 Leave Message
 top
top